How to use a plunger: the complete homeowner’s guide
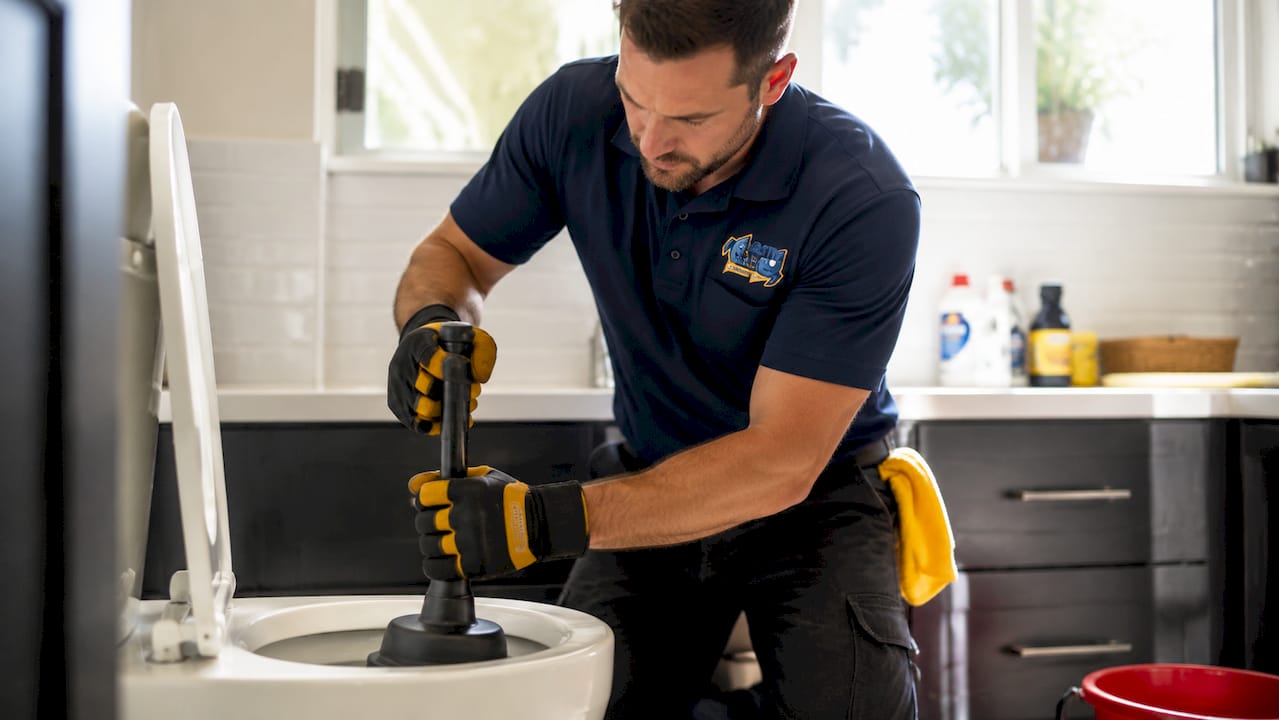
A plunger is a rubber suction device that clears blockages by creating pressure changes inside a pipe. Knowing how to use a plunger correctly is one of the most practical skills a homeowner or renter can have. Sewer blockages cause over 20% of urgent residential plumbing issues in Australia. That means a blocked toilet or drain is not a rare event. Getting the technique right the first time saves you from a callout fee that can quickly reach $150–$300 for a simple clearing job.
What does a plunger do, and which type do you need?
A plunger works by forcing air and water pressure through a pipe to dislodge whatever is causing the blockage. The rubber cup seals against the drain opening, and your push-pull action creates alternating pressure that breaks up or shifts the obstruction. The tool itself is simple. Choosing the right one is not always obvious.
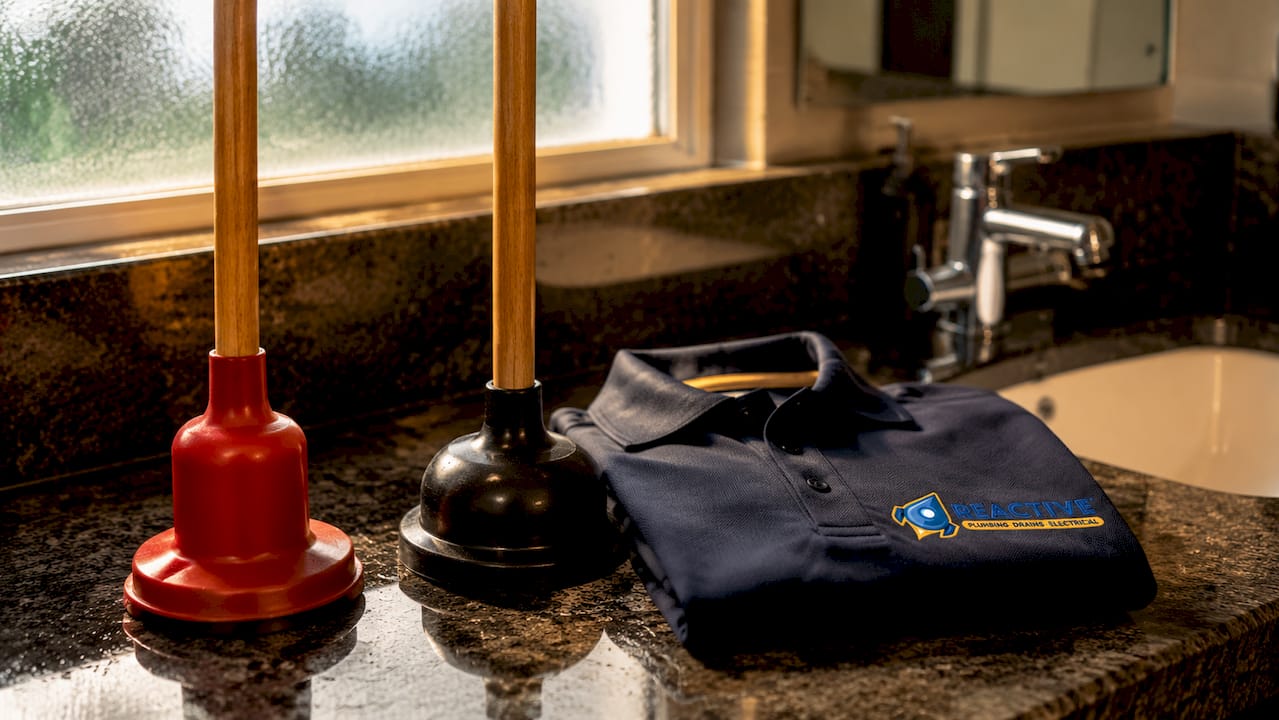
Two main types suit different fixtures in your home. A flange plunger has a fold-out rubber collar that extends from the base of the cup. That collar fits snugly into a toilet bowl’s drain opening, creating a tight seal. A cup plunger has a flat-bottomed rubber dome and suits flat surfaces like sink basins, shower floors, and bathtubs. Using a cup plunger on a toilet rarely works because the flat base cannot seal properly against the curved bowl.
| Plunger type | Best for | Key feature | Water level needed |
|---|---|---|---|
| Flange plunger | Toilet | Fold-out rubber collar for curved drains | Enough to submerge the rubber flange |
| Cup plunger | Sink, shower, bathtub | Flat rubber dome | Enough to cover the cup base |
Pro Tip: Keep one of each type under the sink. Using the wrong plunger is the single most common reason a plunging attempt fails.
Most hardware stores stock both types for under $30. A worn or cracked rubber cup loses its seal quickly. Replace your plunger if the rubber feels stiff or shows visible cracks.
How to use a plunger correctly, step by step
Technique matters far more than force. Controlled push-pull strokes with an airtight seal clear blockages more reliably than aggressive pumping. Aggressive pumping often breaks the seal, splashes dirty water, and achieves nothing. Follow these steps for toilets and sinks alike, adjusting for the fixture type.
Preparing the area
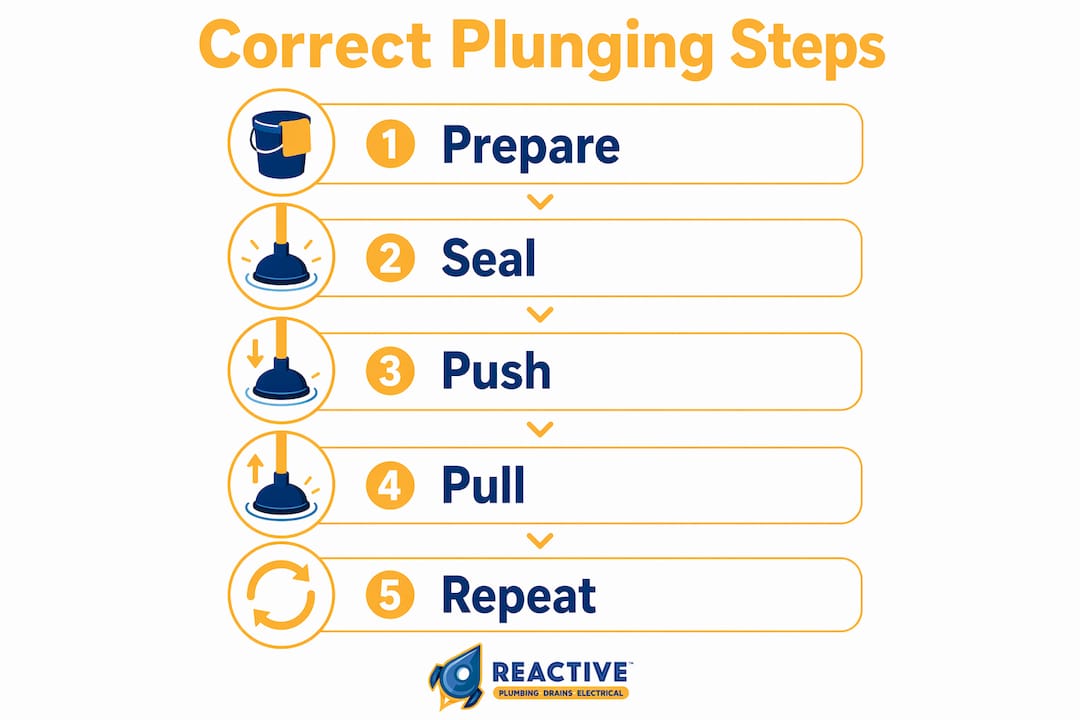
- Put on rubber gloves. Plunging can splash contaminated water.
- Check the water level. For a toilet, the water should cover the rubber flange. For a sink or shower, add enough water to submerge the cup base by at least 2–3 centimetres.
- Block the overflow opening. Most bathroom basins have a small overflow hole near the top rim. Stuff a wet cloth firmly into it. This stops air escaping and keeps your pressure focused on the blockage.
- For a toilet, do not flush again if the bowl is already full. Adding more water risks overflow. Wait for the level to drop slightly before you begin.
The plunging technique
- Position the plunger over the drain opening. Angle the cup slightly as you lower it to let air escape from inside the rubber. A cup full of air will not create suction.
- Press down firmly to create a seal. You should feel resistance.
- Use short, controlled push-pull strokes for 20–30 seconds per attempt. Push down to force water into the pipe, then pull back sharply to create suction. The pull stroke is just as important as the push.
- After 20–30 seconds, lift the plunger quickly. If the water drains away, the blockage has cleared. If not, repeat the process.
- Run water for 30 seconds after clearing to confirm the drain is fully open.
Pro Tip: Add a small squeeze of dish soap to the toilet bowl or drain before plunging. Dish soap lubricates the trapway and helps loosen greasy blockages, making your strokes more effective.
For a bathroom basin, pair your plunging with knowledge of drain snaking methods if the clog sits deeper in the pipe than a plunger can reach. A drain snake, also called a hand auger, extends your reach without chemicals.
Common mistakes and when plunging won’t fix the problem
Most failed plunging attempts come down to a handful of avoidable errors. Recognising them early saves time and protects your pipes.
Mistakes to avoid:
- Using the wrong plunger type for the fixture
- Failing to block the overflow opening before plunging a basin
- Plunging with an air-filled cup instead of seating it properly first
- Using excessive force, which breaks the seal and splashes water
- Plunging a completely dry drain with no water to transmit pressure
- Continuing past two failed attempts without reassessing
Plunging technique is more important than strength. Brute force does not compensate for a poor seal or the wrong tool.
If the blockage persists after two full plunging attempts, stop. Repeated force can push the blockage deeper into the pipe or crack ageing pipe joints, turning a $30 DIY fix into a repair costing hundreds of dollars.
Certain symptoms point to a problem that a plunger simply cannot fix. If multiple drains in your home are slow or blocked at the same time, the issue is likely in the main sewer line rather than a single fixture. Gurgling sounds from other drains when you flush the toilet, or water backing up into the shower when you run the kitchen tap, are both signs of a deeper structural issue. These situations call for professional assessment, not more plunging.
Licensed plumbers recommend stopping DIY attempts after two failures. Professional clearing of a simple blockage costs $150–$300. Emergency drain clearing using high-pressure water jetting can cost $250–$500, with additional fees for after-hours callouts. Acting early keeps costs lower.
For homeowners in Sydney’s Inner West, local drain clearing services are available for both routine and urgent blockages.
How to prevent blockages from coming back
The best plunger tip is one that means you rarely need to reach for it. Most residential blockages are preventable with consistent habits around what goes down your drains.
The NSW Government identifies these as the most common items causing sewer blockages in Australian homes:
- Wet wipes, even those labelled “flushable”
- Paper towels and tissues
- Cotton buds and cotton wool
- Sanitary items and nappy liners
- Fats, oils, and cooking grease poured down the kitchen sink
Only toilet paper and human waste belong in the toilet. Everything else belongs in the bin. This single rule prevents the majority of blockages that plumbers attend each week.
For kitchen sinks, let cooking fats cool and solidify before scraping them into the bin. A sink strainer catches food scraps and hair before they enter the pipe. Clean it weekly. For showers, a hair catcher over the drain costs a few dollars and prevents the most common shower blockage entirely.
Understanding the types of residential drain blockages that affect Australian homes helps you target prevention where it matters most. Tree root intrusion, pipe scale build-up, and grease accumulation each require different approaches. Regular maintenance, including a professional drain inspection every few years, catches slow-developing problems before they become emergencies.
Good habits also extend the life of your pipes. Commercial drain maintenance strategies show that consistent prevention reduces blockage frequency significantly. The same logic applies at home.
Key takeaways
Correct plunger technique, the right tool for the fixture, and two-attempt discipline are the three factors that determine whether a DIY plunging attempt succeeds or makes things worse.
| Point | Details |
|---|---|
| Match plunger to fixture | Use a flange plunger for toilets and a cup plunger for sinks and showers. |
| Seal before you stroke | Block overflow holes and seat the cup properly before applying any pressure. |
| Technique beats force | Short, controlled push-pull strokes for 20–30 seconds outperform aggressive pumping every time. |
| Stop after two attempts | Persisting past two failed attempts risks pushing the blockage deeper or cracking older pipes. |
| Prevent before you plunge | Keeping wipes, oils, and sanitary items out of drains eliminates most blockages before they start. |
What I’ve learned from years of blocked drain callouts
I’ve attended more blocked drain jobs than I can count, and the pattern is almost always the same. The homeowner grabbed the plunger, pumped it hard for a few minutes without a proper seal, gave up, and called us. The blockage was often something a correctly used plunger would have cleared in under two minutes.
The detail most people miss is the pull stroke. Everyone focuses on pushing down. The suction created by pulling back sharply is what actually dislodges most clogs. Think of it like a syringe. The draw is where the work happens.
The other thing I see constantly is the wrong plunger for the job. A cup plunger on a toilet bowl is like trying to seal a round hole with a flat lid. It looks like it should work, but it never does. Spending $15 on a flange plunger is a better investment than a $200 callout.
My honest advice: give it two proper attempts with the right tool and the right technique. If the drain is still blocked after that, put the plunger down. Calling a licensed plumber at that point is not admitting defeat. It is the decision that keeps a minor inconvenience from becoming a major repair.
— Brent
When a plunger isn’t enough, Reactive Plumbing & Electrical can help
Sometimes a blockage sits too deep, or the pipe itself needs attention. Reactive Plumbing & Electrical provides emergency drain clearing across Sydney, Newcastle, Wollongong, Brisbane, and the Gold Coast, with licensed plumbers available 24/7.
For homes with recurring blockages or older pipes, pipe relining repairs damaged pipes from the inside without digging up your yard or floors. It is a long-term fix that addresses the root cause rather than the symptom. If you have tried the plunger and the problem keeps coming back, contact Reactive Plumbing & Electrical for a professional assessment and a solution that lasts.
FAQ
What does a plunger actually do to a blocked drain?
A plunger creates alternating pressure inside the pipe by pushing and pulling water against the blockage. That pressure shifts or breaks up the obstruction so it can flow through.
How do I use a bathroom plunger on a toilet?
Seat the flange plunger firmly over the toilet drain opening, then use short push-pull strokes for 20–30 seconds. Repeat once if needed, and run water to confirm the drain is clear.
What is a good substitute for a plunger?
A drain snake (hand auger) is the most effective plunger substitute for deeper blockages. Dish soap and hot water can help with minor grease clogs in sinks, but neither replaces a plunger for solid obstructions.
How many times should I plunge before calling a plumber?
Stop after two full plunging attempts if the blockage has not cleared. Repeated attempts risk pushing the blockage deeper or damaging older pipes.
Why is water coming back up into other drains when I plunge?
Water backing up into other fixtures points to a blockage in the main sewer line, not a single drain. This requires professional assessment and is beyond what a plunger can fix.